Example tutorial:
https://screencast.autodesk.com/Embed/Timeline/19432b78-6b76-4d98-8d0b-ba436bac59dc
Forshortening: Slanted surfaces appear distorted in traditional orthographic views, making them hard to visualize.
True Size / True Surface: Undistorted view of a surface by looking at it head-on.
Auxiliary views:
Projection other than traditional orthographic views (front, side, top, etc.). Inclined surfaces are projected perpendicularly onto a new plane to provide an undistorted, head-on view of them.
Auxiliary views are:
- Labeled with "TS" (True Size)
- Are aligned with the view from which they are projected
- Do not include hidden lines unless they clarify the view
- Use projection lines between adjacent views to indicate alignment
- Reference planes or fold lines can be used to construct auxiliary views.

Visualizing Auxiliary views:
You can rotate your UCS to Align to an Object face to see an Auxiliary view:

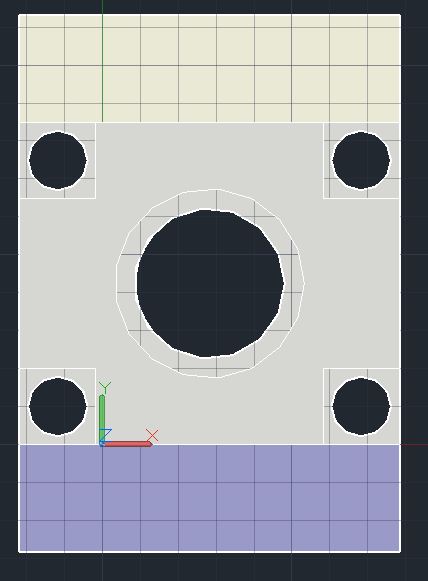
World View:

Notice that the slanted face is distorted due to its orientation in the front view:

View looking directly at inclined surface in which circles are not distorted.
Constructing Auxiliary views:
Start with the standard orthographic views:
VIEWBASE →

Use "VIEWSECTION"
type - Full
Start and end point - select the inclined surface

Add some extension lines, and use TEXT to mark the auxiliary view as TS.

Add dimensions!
Set your DIMSTYLE to be aligned with dimensions lines:

Use DIMALIGNED
TEXTEDIT to add notes such as "4PL"

Create the auxiliary and orthographic views from pg 197, 199, 201, and 211 from chapter 5.
Try creating the text exercises from the beginning of class:
Use MTEXT, justify middle center (MC), with height to fill a BOX:

Use TXTEXP to explode your text into lines

Use the PRESSPULL or EXPLODE → mode, solid


Try creating some auxiliary views of the following from the beginning of the semester:


