Open up a layout:
- Right click on a Layout
- choose template
- open up your title block
- fill in name, date, scale etc.
- delete your viewport window (you are left with just your piece of paper, nothing from model space) Work in paper space.
VIEWBASE:
- choose <Model space>
- specify location (click on lower left hand corner of screen)
Pull out your top and side views:
You can either pull out the 3D iso view, or you can add a viewport window for your 3D view:
Just type "VIEWPORT" and draw a square where you want a viewport.
Next - add dimensions!
http://en1304.blogspot.com/2015/10/ch-6-dimensions.html
Try out a ws out of the book.
You will know that you drew them correctly if your VIEWBASE views agrees with your sketch!
Practice makes perfect - the more time you spend working through it, the better you will become.
For the midterm - I will have you create something similar to a cube WS or one of the worksheets in the book. You will need to create a 3D object from the 2D ortho views, add dimensions, place it with your title block, scale it correctly, and print it out.
Cube practice:
- Create a 3 by 3 by 3 cube
- Draw 1 by 1 squares on each of the faces that you can push pull
- Save your rubbix cube under multiple names, this will be the base for all of your practice cubes.
- Attempt to push and pull the squares to match the below views.
Base cube:
Save your base view, then rename the file before you modify it.
Create and format your layout, create top, front, right viewbase, then open up a large VIEWPORT next to your layout. Change to model space. This will let you work on your cube, and watch the changes in your views as you change it.
Notice the small squares do not show up on the layout, only the solid shows up.
Save multiple copies of this setup under different names (Cube 1, Cube 2, Cube 2, etc. etc.:
Now, open up one of your cubes, and start Presspulling! "Shades of Gray" might be the best way to view it in the viewport.
Note: Switch back and forth between paper space and model space to update the viewbase views.
Now that you are all set up, try and PUSHPULL to create the 3D object from the below views. Answers are below, but try to figure it out without looking!!!
~~~~~~~~~~~~~~~~~~~~~~~~~~~~~~~~~~~~~~~~~~~~~~~~~~
~
Answers
~~~~~~~~~~~~~~~~~~~~~~~~~~~~~~~~~~~~~~~~~~~~~~~~~~~
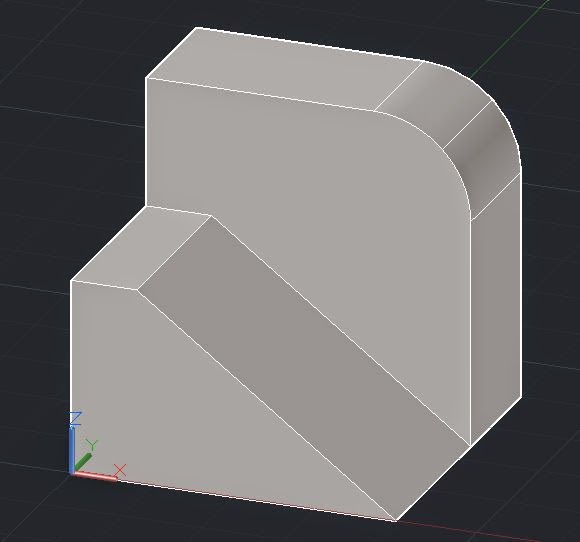
another view


