

Change to the 3D Modeling workspace:

Workspace
<set current>
type in either "3D Basics", "3D modeling", or "Drafting & Annotation"
Notice the new ribbon:

Look through some of your 3D options:


Use your viewcube and view menu, to change views, or shift + hold down mouse wheel

After we have extruded our 2D objects into 3D, you can also change between wireframe, realistic, shaded etc. views.

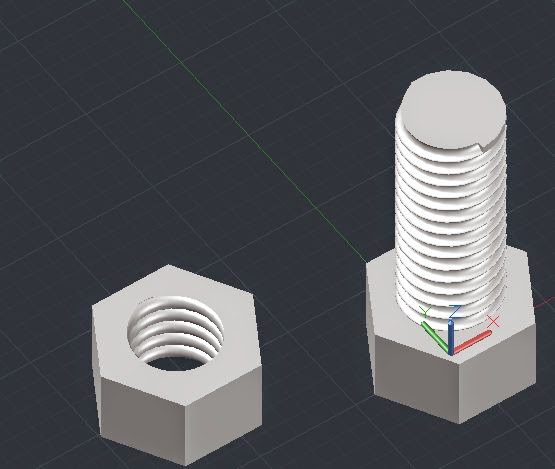
Try out the extrude command to make a bolt. Read the description in the ribbon, then watch the command line and follow what it asks you to do!

*Do not use the union command on this bolt, we will need the top and the cylinder to be two different pieces for some future modifications on it.

Try out the different visual styles and orientations:


Try out the REVOLVE command:

Make a Chess piece:


Play around with PressPull:


UNION - joins 3D solids into one piece.

FILLETEDGE - rounds corners

Try out some of the different shapes like the wedge:


Save your work often! (Save it now) AutoCAD is known to crash on these machines!
Create a simple cube or box:

Type in UCS (User Coordinate System) and change your coordinates to a new location - so your (x,y) is on a new side of the box.

Draw some shapes on each of the sides of your box, get used to moving your UCS around.
Use "PressPull" to push the shapes through your box.


Experiment with all of the tools in the "Modify" and "Solid Editing" ribbon.
Now that you are starting to feel comfortable with some of the 3D tools, let's go back and add some threads to that screw!
Create a Helix:
Pay attention to how many turns and how high your helix is. Use the number of turns and height to determine the distance between your threads.


Modify → 3D rotate, 90° and centered at the end of the helix:

If you have a hard time with the rotate command, you can also try re-orienting your coordinate system, and drawing the circle on the right plane to begin with.
Type in:
UCS (User coordinate system)
Click on the end of the helix
orient the x-y plane perpendicular to the helix
You will always draw on the xy plane.Once you have the circle in place, use the sweep command - read the instructions at the icon, and pay attention to the command line!
Save your work often! (Save it now)
Warning - I tried this out on the computers in 114, and it took around 10 minutes to execute, so be patient. Fewer threads take less time, so try something simpler if this is fighting you.

SUBTRACT, select the cylinder <enter> select the helix <enter>


Bolt <SUBTRACT> screw:
Under Modify -

Under Modify -

Create a CONE

INTERSECT

Select cone and bolt

Select cone and bolt

FILLETEDGE

Email me your scribble sheet when you have finished making:
- screw and bolt
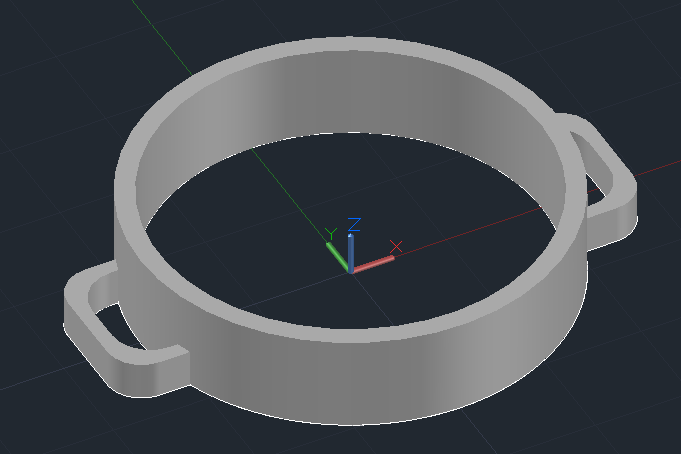
- pot or pan
- pawn game piece
- Barcket
- Cube with holes cut into it or other 3D object showing you can move your UCS around.
- Create a Ch2 or Ch3 worksheet
Next up: we will move from model to paper space, go through creating orthographic views from 3D objects, adding dimensions, and creating title blocks.